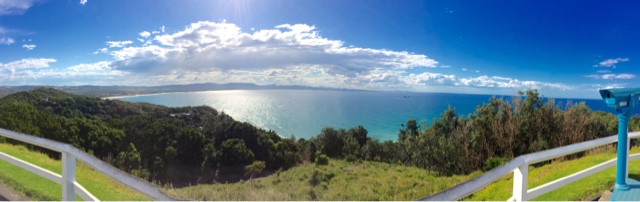
On clear sunny days it seems like you can see for miles from this lookout overlooking our town of Whangamata. These photos are taken on another walk I did a couple of weeks ago with my daughter Amelia and her boyfriend. I felt grateful to have had the afternoon off on such a stunningly beautiful day...
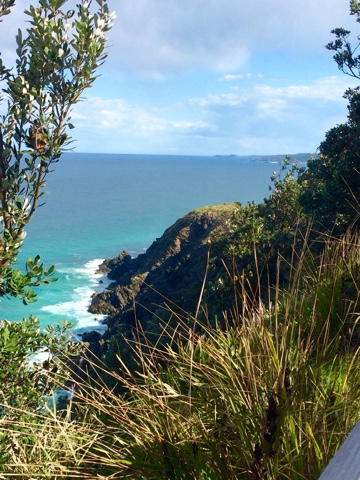
Clark island on the left can be accessed by foot at low tides..
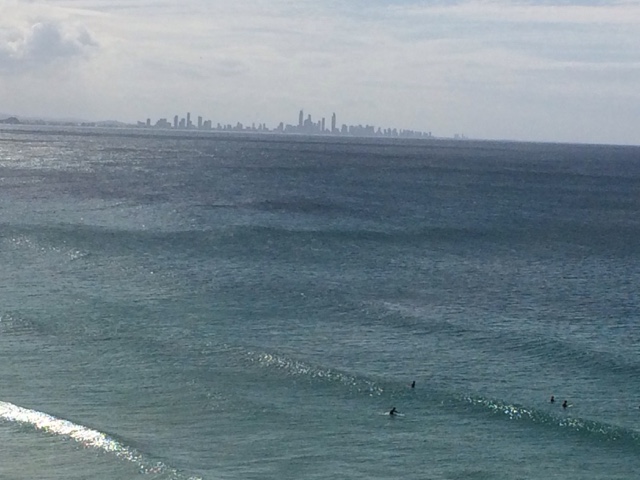
A couple of paddle-boarders taking advantage of the waves coming in on the 'bar'. I tried paddle-boarding for the first time last summer and I am addicted and looking forward to doing more this summer...
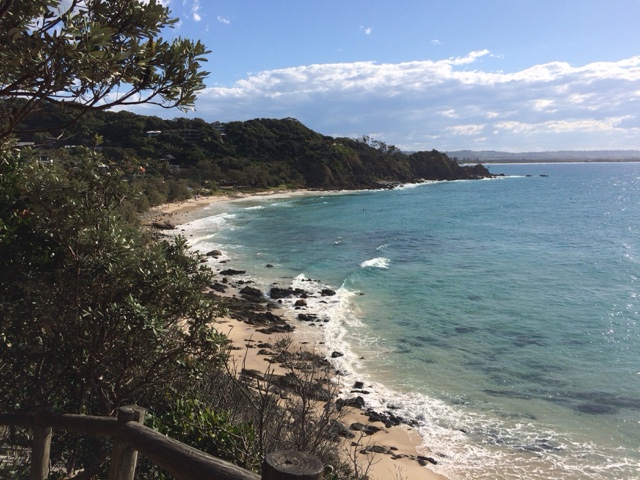
A little known, secluded beach in between Onemana and Whangamata..
Feeling blessed to have been able to spend some quality time with these two...